Monday, September 29, 2014

Mixed Media Monday - ATC Cards

Mixed Media Monday, ATC Cards Paper Wings Productions created by www.serendipitystudiobycw.blogspot.com

Hello Again friends!  This is Carmen from Serendipity Studio and I'm back visiting at The Aviary to share with you a quick tutorial for ATC cards.  I love working on these little guys because you can pack so much creativity into a small space.  ATC cards are 2 1/2" x 3 1/2" and often used to trade with other artists.  It's a great way to share your style with other artists and collect them.


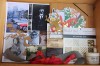
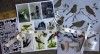
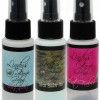
For these cards I will using the wonderful September Nesting Components Mixed Media Kit.  There are so many goodies in this kit that the only thing I had to supply was some paint and some gel medium.

Mixed Media Monday, ATC cards, Paper Wings Productions, created by www.serendipitystudiobycw.blogspot.com

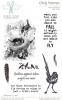
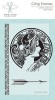
I applied some scrapbook paper to a cardboard ATC card I had cut from a larger piece.  I love this film strip clip art that's in the kit.  It has a vintage and almost steam punk theme.

Mixed Media Monday, ATC cards, Paper Wings Productions, Created by www.serendipitystudiobycw.blogspot.com


mixed media monday at Paper Wings Productions, ATC cards, created by www.serendipitystudiobycw.blogspot.com

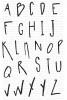
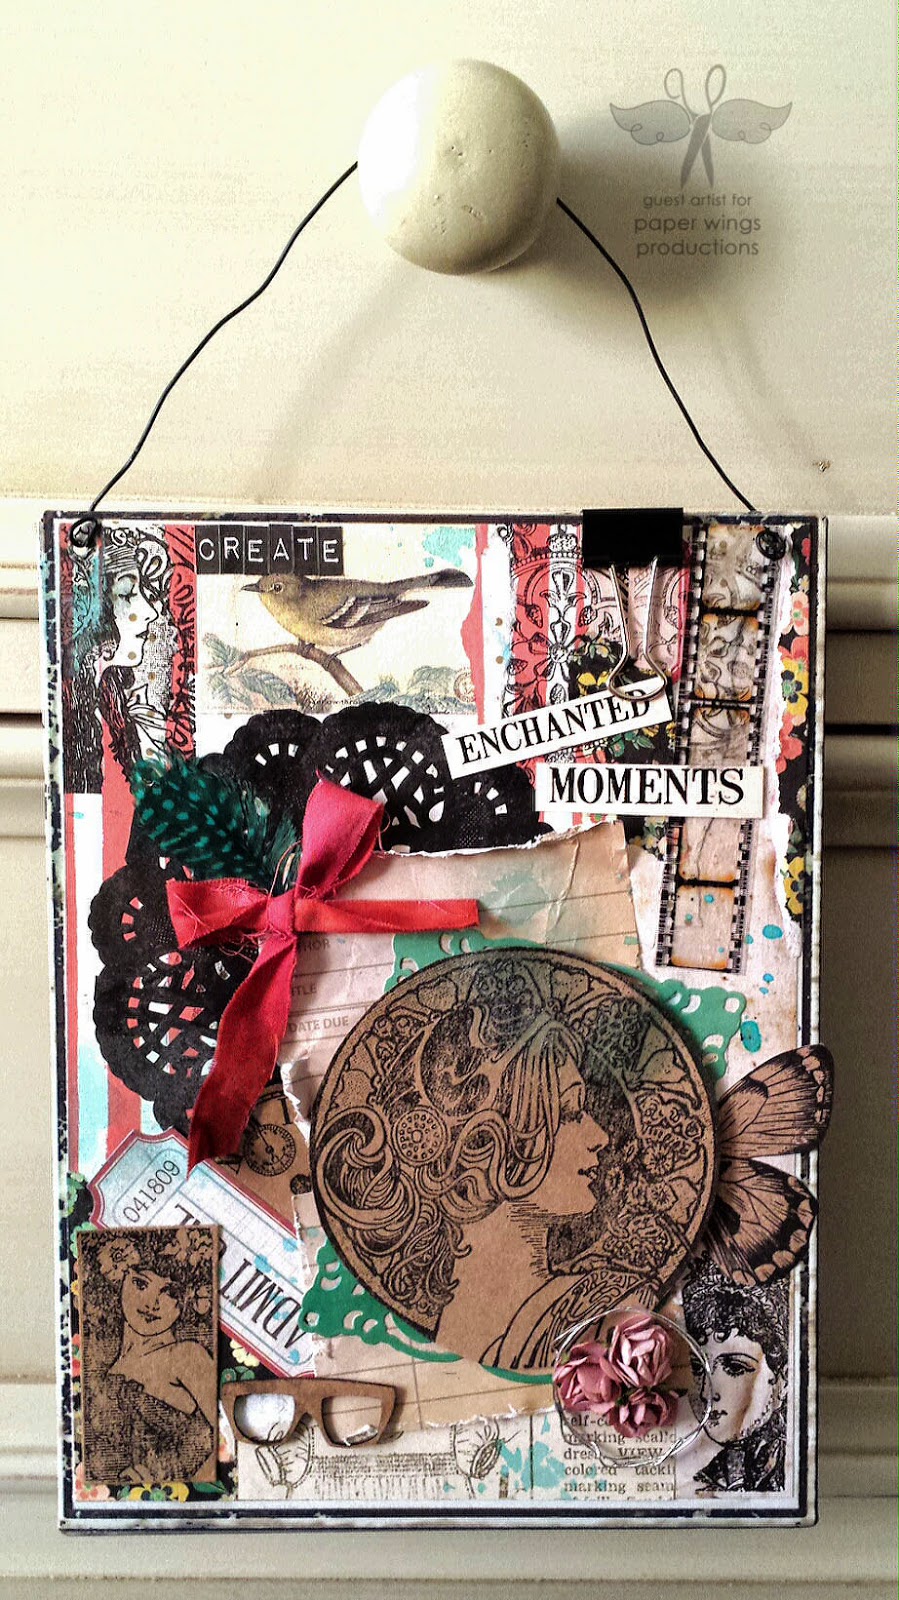
I love these letter stickers from Tim Holtz Idea-ology.  They look like marquee letters on this card.  I did seal them down with gel medium to secure them.

mixed media monday at Paper Wings Productions, ATC cards created by www.serendipitystudiobycw.blogspot.com

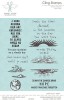
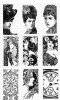
Here is the set I created today.  The cats only card has a beret and bow tie for the clip art cat that I painted with some metallic paint and added some Interference paint from DecoArt's Media Line for some more shimmer.  My favorite is probably the Queen Bee card.  The crown has gold metallic paint and white Signo Uniball pen.

mixed media Monday with Paper Wings Productions, ATC cards created by www.serendipitystudiobycw.blogspot.com

I hope you were inspired to create some beauty from this one kit.  To see what else you can make, check out Amanda's work from Spotlight Sunday.  

I've had so much fun visiting The Aviary this month, thank you to Carrie for giving me the opportunity and also to you for stopping by and reading my post. 


Saturday, September 27, 2014

Scrapbook Saturday


Hey everyone, Katie here! It's been a while since my last Scrapbook Saturday post, so I'm excited to share this with you!

Today I'm sharing a layout I created using the Funky Alphabet stamps and the Earth and Sky stamps! I love the fun font of the funky alphabet and I think it worked great on my layout.
I used it to stamp my title, "Swimming, Exploring, La Jolla, Ca." and then colored over it with watercolor pencils for a whimsical look.


I love the earth from the Earth and Sky stamp set, so I decided to use it to highlight the "La Jolla" part of my title. I colored in the earth with watercolors as well.


Thanks for stopping by, Let your creativity take flight!
-Katie

Thursday, September 25, 2014

Themed Thursday - Wings


Hello Crafters!
Zoey's here again for another post as Guest Designer!
It seems I totally felt in love with the amazing For the Birds Nesting Components Mixed Media Kit that I can't stop using it! For this project I will use some products from the For the Birds Nesting Components Mixed Media Kit , Lindy's Sidekick - Prairie Wildflowers (Hibiscus Rose), Stamper's Big Brush Pen - Nougat and Bird Beauty Unmounted Stamp Sheet.


For my project I created one ATC and one TAG, I used the same exactly elements / materials and also the same stamps set.

First step was to cover my ATC with some scrap paper, I glued it down using gel medium, covered it with a bit of gesso mixed with water and then I used the Lindy's Flat Fabio to color over the collage


Then I added my stamping using Stamper's Big Brush Pen - Nougat as ink. Both the stamps I have used are from the fab set Bird Beauty Unmounted Stamp Sheet


Then I added some light modeling paste through the stencil from the For the Birds Nesting Components Mixed Media Kit - I also added some color around the stenciled image using Inktense pencils. 


For my final touches I simply added washi tape and the sentiment


I repeated the same exact step on my tag. I just moved few things around and changed the bird -- I also had more space so I could fit the sentiment straight. It was very interesting for me to try and repeat the same technique / process on different thing. It gave me more ideas and even more inspiration. So I really challange you to do something like this aswell! Create something and then try to repeat more or less the same thing on a different support. You will notice how fun it is!

Here is the TAG:


...and finally my both project close to each other! What do you think? 


And that is all for today Themed Thursday! The week is almost over so make sure you check out what our talented design team/guest design team created for you this week, here are some links:
A super fun tutorial that our lovely Erica shared with us on how to make a mini album just here and our Spotlight Sunday where the talented Amanda showed us how to use both Vintage Domino Melange and Nouveau Stamp!
Also you still have a bit of time to join our September challange, the theme is"use twine or ribbon".

I hope you had fun with me!
Stay Happy, Stay Creative...till next time! 


Tuesday, September 23, 2014

Tutorial Tuesday-Mini Album

Hello everyone and welcome to another Tutorial Tuesday!  Erica here with you this week to bring you another one of my favorite mini albums to make!  A couple months ago I shared one way to create an accordion mini album using a sheet of 12x12 cardstock and you can see that full post HERE.  This month I want to share with you all how to create a similar mini using a plain old office file folder.
Here is a list of supplies you will need to create and decorate your mini album.


  • file folder
  • scoring board
  • scoring tool
  • wet adhesive
  • variety of pattern papers
  • matching embellishments
  • photos
Instead of listing all the directions with photos I thought I would do a video for you all instead this month.  I hope you can follow along and please leave any comments or questions for me down below and I will answer as soon as possible!


To dress up my mini album I used the September 2014 Nesting Components kit.  I am in love with this beautiful kit!  The paper collection and embellishments from My Minds Eye are gorgeous and Carrie has hand picked some amazing pieces that coordinate beautifully with these two products!  I also pulled out a handful of Paper Wings Productions stamps to add to my album as well including the brand new Say It stamp set!  Here are some photos of my completed mini album.


I love how this album has a ton of pockets that allow you to add more tags, photos and ephemera.  I also added one of the mini envelopes that came in this months Nesting Components kit to the inside of my mini that will house some journaling tags.  I hope you enjoyed my video and my mini album this month.  If you have not already purchased this months kit you can head on over to the Paper Wings Productions shop and get one today!  There are only a few kits left and I think this is my favorite kit so far so act fast!  If you give this mini album I try I would love to see your take on it so leave me the link below or enter it into this months challenge for your chance to win a gift certificate to the PWP shop!  Thanks so much for stopping today and remember to let your creativity take flight!

Sunday, September 21, 2014

Spotlight Sunday: Vintage Domino Melange & Nouveau Stamps


Hi Creative Stampers & Artists! 
Welcome back to The Aviary!

Amanda here, & I am so super-dee-duper excited to be a guest artist 
for September here at Paper Wings Productions!
There are so many fabulous stamp sets to showcase - 
but my 2 absolute favourites are 
Vintage Domino Melange 
Nouveau.
They are both super stunning, beautifully cut and can be used in just about every creation!
One of my most loved uses is in art journalling - but the sad part is, nobody sees art journal pages hidden in a notebook....
So, today I wanted to share how to create an off-the-page Art Journal that highlights these magnificent stamps.

Here's how......

1. Start by selecting your canvas, or in my example a tin plaque.
(I picked mine up from one of those thrifty $2 variety stores)


2. Adhere your background paper with PVA glue. 
I chose a vintage, distressed paper that wasn't too busy. 


3. Use your scraps for collage! 
 - I have so many left over goodies from the
Well Dressed  Nesting Components Mixed Media Kit
that I just had to use them -

Click here to view this fabulous kit!

Torn pieces of the MME Market Street Paper Pad start my collage.


4. Keep collaging.
I also used a few of the Market Street Foil Accents, & the Tim Holtz Negative Strip 
that also form part of the Well Dressed Nesting Components Mixed Media Kit.


5. Get Inky!
I started by inking a doily - I wanted a much more sophisticated look than white.
I then added the first of a few of the Domino Vintage Melange Stamps in the bottom RH corner.


Here's a closer look at that stunning stamp.....
(Sooooooo gorgeous!)


6. More inky fun!
Go crazy with your stamping! 
I added another lady (top LH corner), repeat stamped a pattern, 
& even stamped a clock face onto some Kraft cardstock to add interest.


7. Time for that stunning Nouveau stamp to take centre stage!
Again, I stamped onto kraft cardstock for interest, 
added a few sentiments - Create Enchanted Moments, 
& embellished with more MME Market Street Shapes, Um Wow Chipboard & tie-dyed ribbon trim.  
Again, all from the Well Dressed Nesting Components Mixed Media Kit  
(Seriously an amazing kit to get creating with!)


Add a few blooms and a feather - or whatever takes your fancy.....
& Voila!
A stunning Art Journal Page that isn't hiding away,
 but proudly hanging on display!
And those incredible stamps - definitely the stars of this creation!!!


So now you know why they're my favourites! 
Truly so versatile and oh-so-pretty!
Hope you give this creation a go!


For more inspirational ideas, please visit my blog, 


Related Posts Plugin for WordPress, Blogger...